#3 Custom Domain
By Christopher Melendez
So, I added this one to the list because I feel it’s something that can be easily overlooked or misunderstood, but it’s one of the first things you’ll need to think about and configure before you move workloads to the Azure platform.

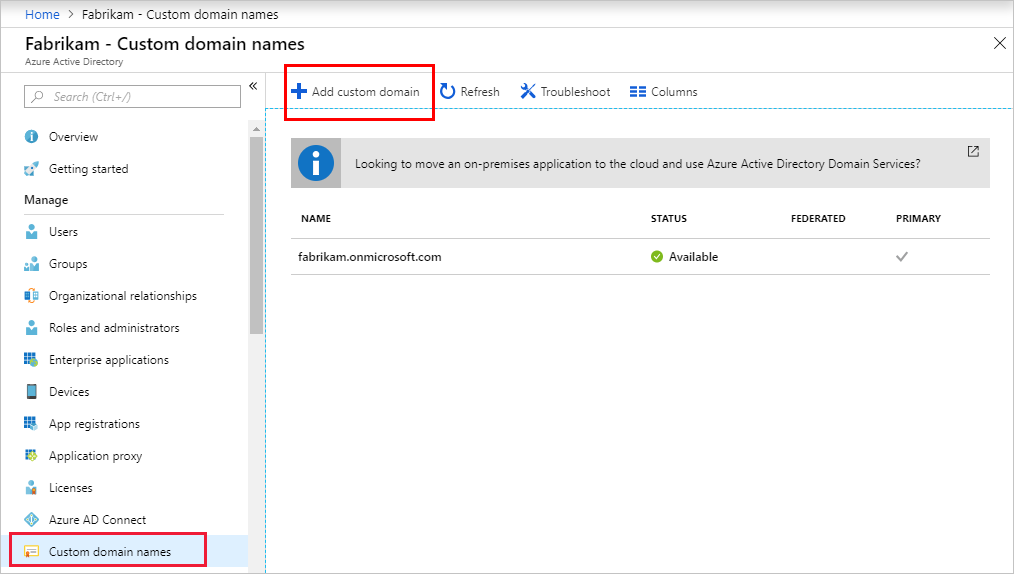
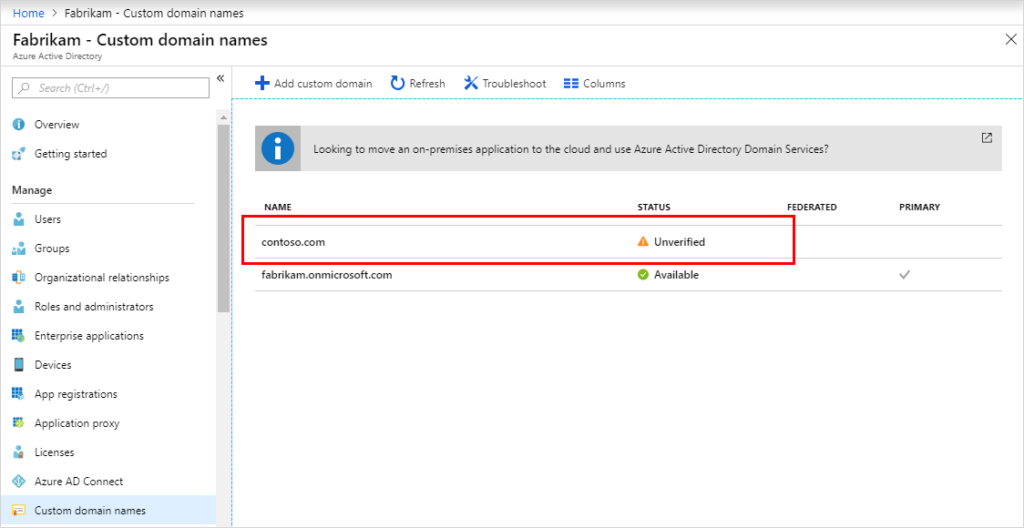
When a new tenant is created in Microsoft Azure, Microsoft creates a domain with the “.onmicrosoft.com” domain name by default. This probably won’t align with your customer’s existing domain name. They are probably looking for something like contoso.com, not contoso.onmicrosoft.com. This can be resolved through the Custom Domain feature under the Azure AD blade in the Azure portal. If your customer doesn’t have a domain name already, you’ll first need to purchase a public domain name for them. You will then be able to bind your customer’s domain name to your new Azure AD tenant. If they already have an existing domain name, the next step would be to configure custom domain in the Azure portal.

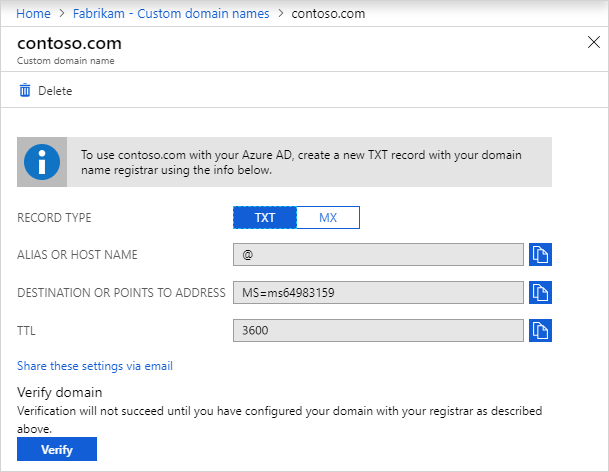
Once you have entered that information in the Azure portal, Azure will provide you with TXT and MX records that you will use to update your public Domain Registrar.

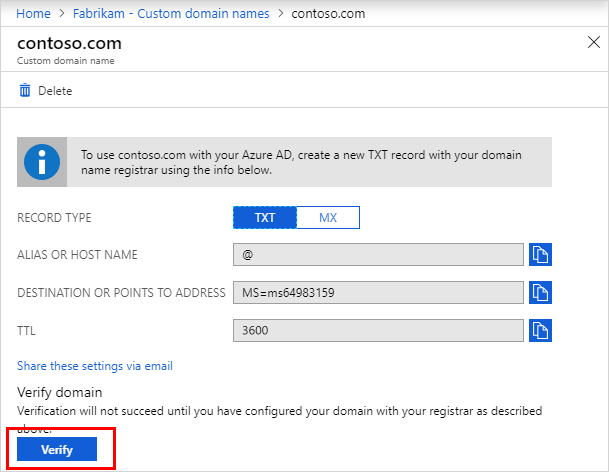
The last step is to verify your custom domain is properly registered and is valid in Azure AD. This step is performed in the Azure portal. Once your custom domain name is verified, you have confirmed that your customer’s Azure Tenant is in line with the rest of their domain naming convention.
